Did you know that how to Clean Audio Electronics dust and dirt build-up in your audio devices can reduce their performance by as much as 30%? That’s right your high-end headphones or premium speaker setup could be functioning far below its potential simply because it’s not cleaned regularly. Whether it’s static crackling in your speakers or your earbuds sounding muffled, cleanliness can make or break the quality of your audio electronics.
In this guide, I’ll show you how to properly clean your audio electronics at home, ensuring they stay in perfect working condition for years to come. From headphones and speakers to vinyl players and amplifiers, cleaning is key to preserving your devices.
1. Why Cleaning Audio Electronics is Important
Dust, Debris, and Their Impact on Sound Quality
One thing most people don’t realize is just how much dust and grime can accumulate inside audio devices. Whether it’s a home speaker, a pair of headphones, or your trusty microphone, tiny particles are constantly finding their way into every crevice. This may seem harmless, but over time, dust can become compacted, leading to poor connectivity in wired components or muffled sound from speakers.
From my experience, I’ve noticed that even devices in low-dust environments aren’t safe. All electronics attract dust due to the static electricity they generate. Worse yet, if you live in a humid environment, the combination of moisture and dirt can even cause corrosion of internal parts, potentially causing permanent damage. Cleaning your gear isn’t just about keeping things looking nice it’s about maintaining sound quality and longevity.
How Dirty Audio Electronics Affects Performance
It’s incredible how something as simple as dust can affect performance. A clogged headphone jack can prevent proper signal transmission, while a dusty speaker cone can muffle sound. Below, I’ve summarized some common problems caused by unclean audio devices:
| Device | Common Issue from Dirt | Impact on Sound |
| Headphones | Dust and earwax blocking speaker mesh | Muffled sound, poor bass response |
| Speakers | Dust on drivers and tweeters | Crackling, lower volume |
| Turntables | Dust on stylus or vinyl surface | Skipping, reduced sound clarity |
| Microphones | Dirt in the grille or diaphragm | Static noise, reduced vocal clarity |
It might seem like a small issue at first, but you’d be surprised how much these factors degrade performance over time. Now, let’s get into how you can clean each type of audio device.
2. Cleaning Headphones and Earbuds
Headphones and earbuds are the most likely to pick up debris, especially since they’re in constant contact with your skin and ears. Cleaning them properly is essential not only for sound quality but also for hygiene.
Step-by-Step Guide to Cleaning Headphones
Here’s how I clean my over-ear headphones:
- Remove the ear pads: If your headphones have removable ear pads, start by taking them off. This will give you better access to the inner parts.
- Use a microfiber cloth: Gently wipe down the exterior using a dry microfiber cloth. Avoid using paper towels since they can scratch the surface.
- Disinfect the ear pads: I typically dampen a cloth with a little isopropyl alcohol (70%) and wipe down the ear pads. Make sure to let them air dry before reattaching them.
- Clean the speaker mesh: This is a delicate process. I use a soft-bristled toothbrush or a cotton swab to clean dust off the mesh without pressing too hard.
- Check the headphone jack: If you notice any static or drop-outs in the sound, check the headphone jack. Compressed air or a fine tool can help clear out any debris stuck inside.
Cleaning Earbuds: A Special Challenge
Earbuds can be a little trickier because they’re constantly exposed to sweat and earwax. Here’s my go-to method for cleaning them:
- Remove any silicone tips: If your earbuds have removable tips, take them off and soak them in warm soapy water for about 10 minutes. Dry thoroughly before reattaching.
- Use a soft brush: Gently brush the speaker openings with a soft-bristled toothbrush to remove any earwax or debris.
- Compressed air: If you have any blockages in the speaker openings, a short blast of compressed air can help clear it out. But be careful not to blow too forcefully!
Pro Tip: Never submerge your headphones or earbuds in water! Even waterproof models can suffer damage if exposed to excessive moisture. Use a damp cloth instead.
3. Cleaning Speakers
Speakers, especially ones used in home setups or cars, can accumulate a lot of dust. Over time, this can muffle your sound and even damage the drivers. Cleaning your speakers isn’t difficult, but it requires a delicate touch to avoid damaging the sensitive components inside.
How I Clean My Home Speakers
- Dust the exterior: The first step is to use a microfiber cloth to wipe away dust on the speaker’s casing. Avoid using harsh chemicals or spray cleaners that can damage the finish.
- Check the speaker grills: Many speakers have removable grills. If yours does, take them off and use a vacuum with a soft brush attachment to clean off the accumulated dust.
- Clean the drivers: This part is a bit delicate. I use a soft paintbrush to carefully dust the speaker cones. Be very gentle, as pressing too hard on the driver could deform it.
- Inspect the connectors: Dust can also build up on the terminals and jacks. A quick blow of compressed air and a wipe with isopropyl alcohol can ensure optimal connectivity.
Portable Bluetooth Speakers
For portable speakers, I follow a similar process but pay extra attention to the buttons and charging ports, which tend to accumulate dirt. A toothpick or compressed air works wonders in cleaning those hard-to-reach spots.
Comparison Table: Speaker Cleaning Methods
| Speaker Type | Recommended Cleaning Method | Special Considerations |
| Home Speakers | Soft brush, microfiber cloth, compressed air | Avoid water near electronics |
| Car Speakers | Vacuum with soft brush attachment | Ensure wiring stays intact |
| Bluetooth Speakers | Microfiber cloth, toothpick for ports | Be mindful of water resistance |
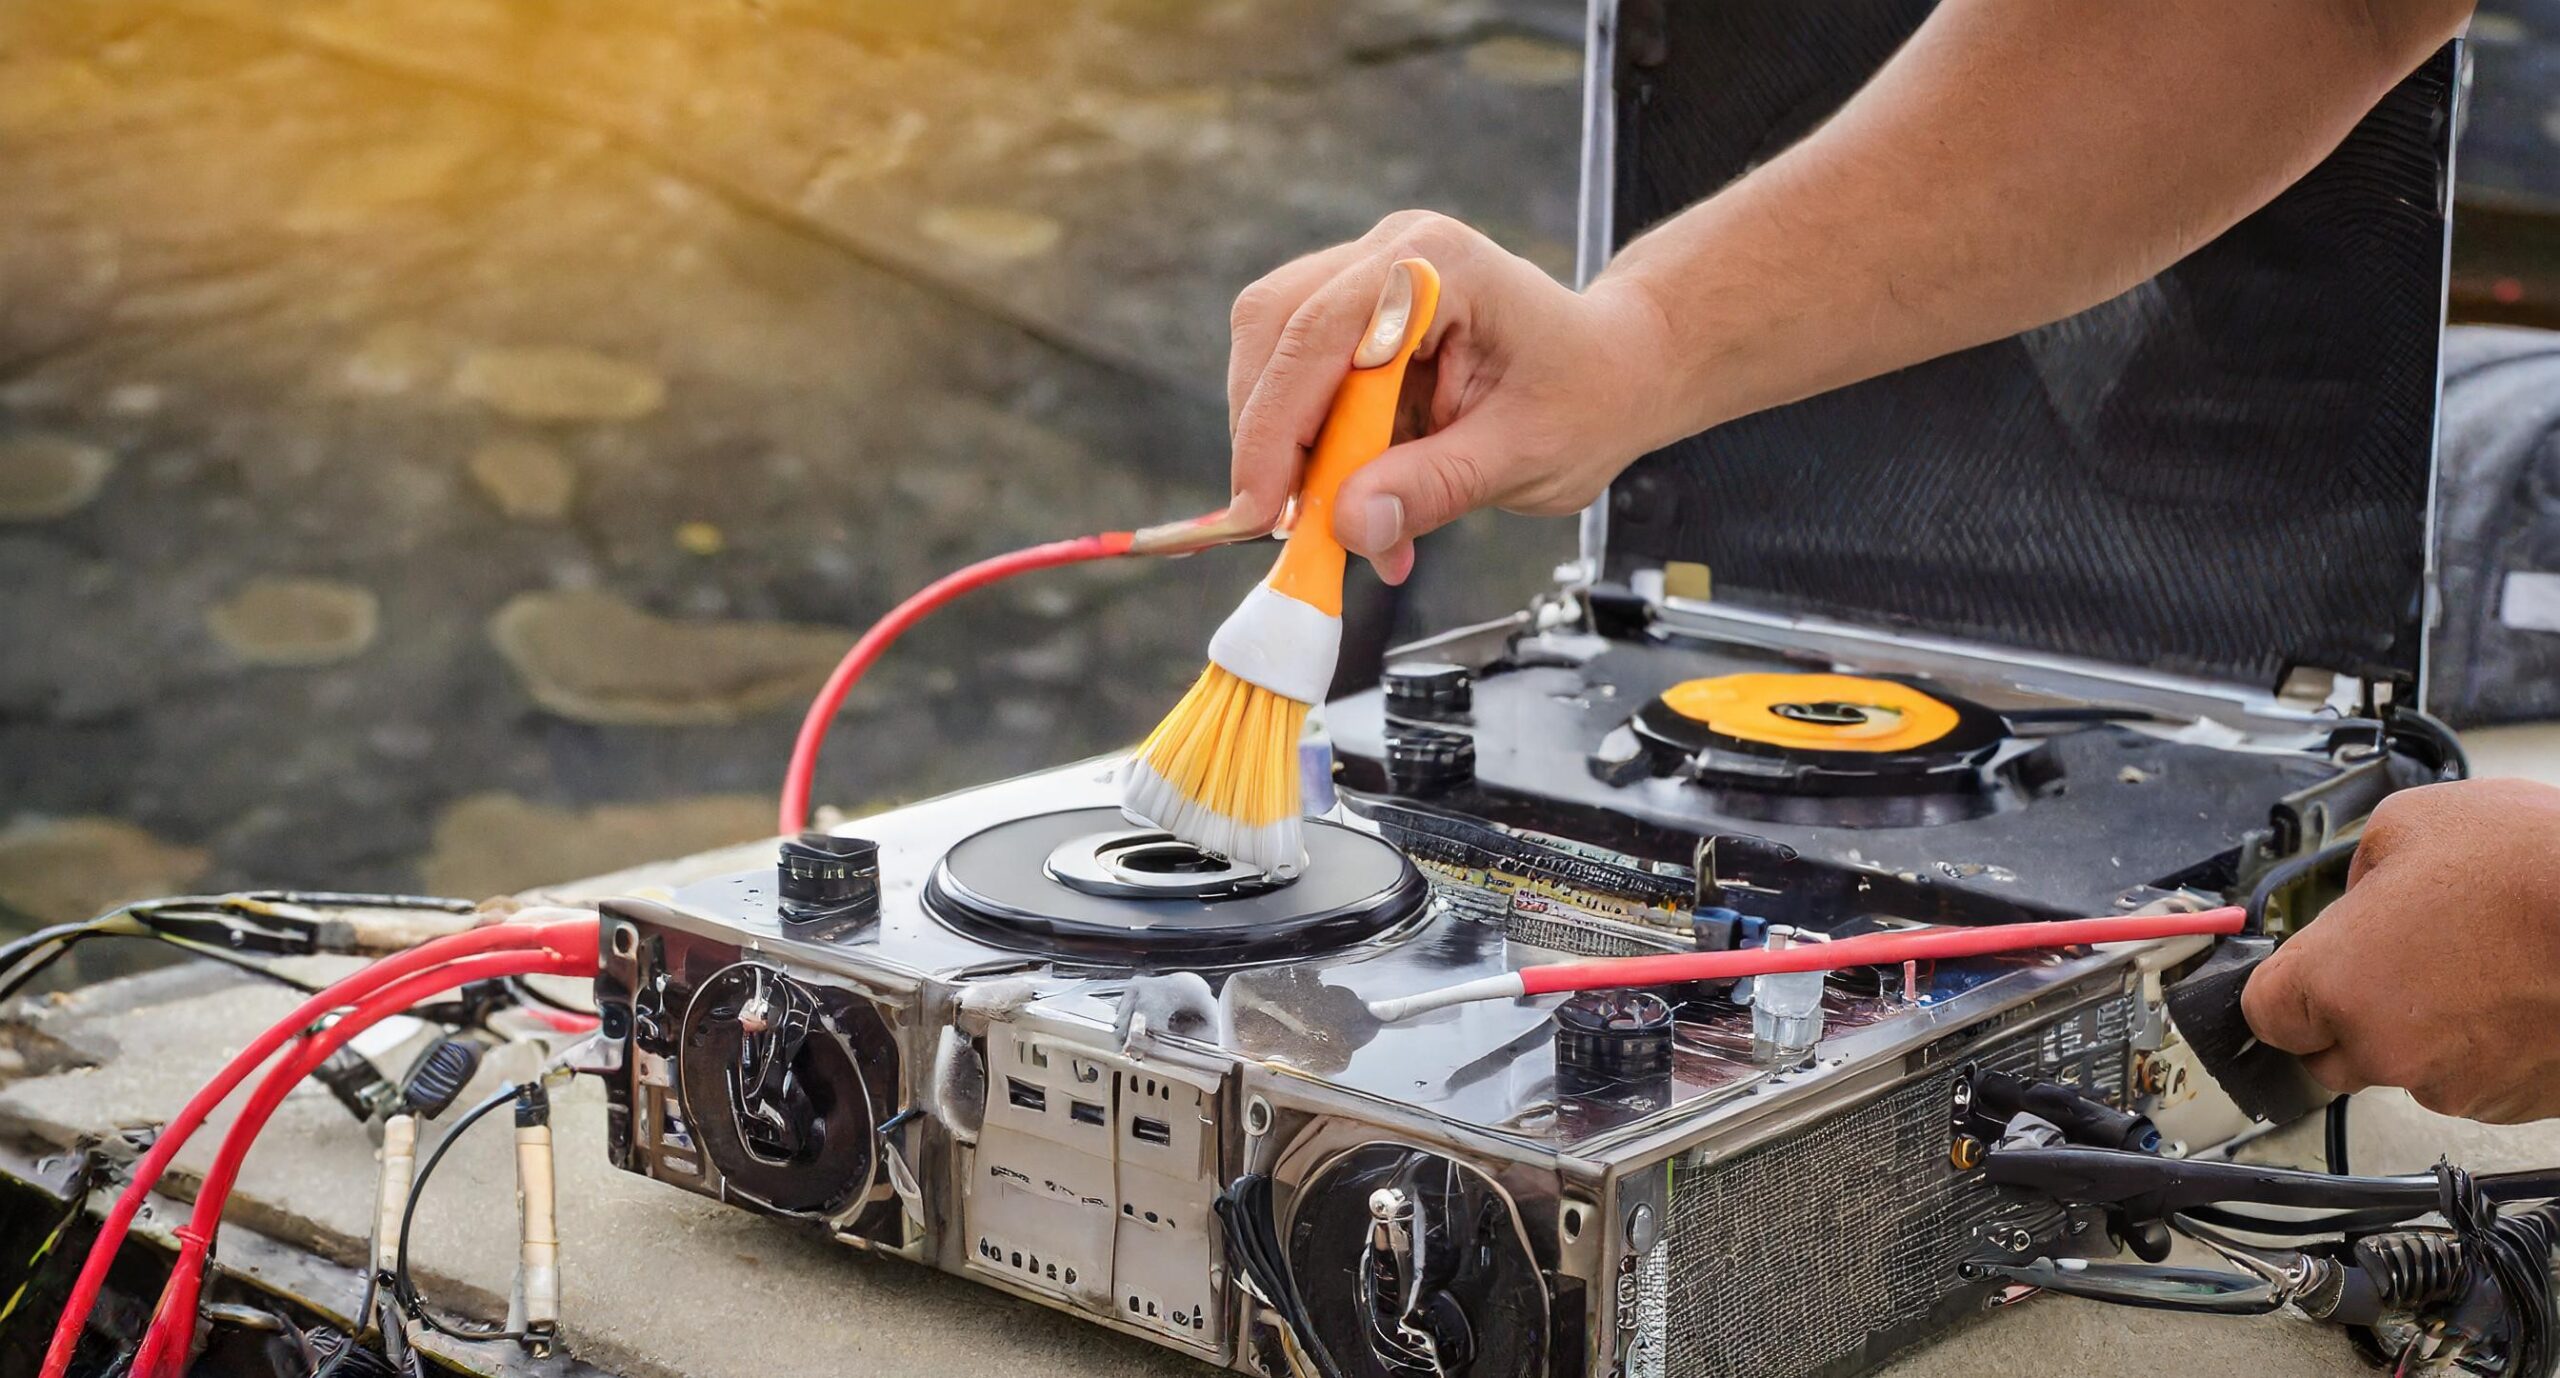
4. Cleaning Turntables and Vinyl
If you’re an audiophile, you know that a dusty turntable or vinyl can wreak havoc on your listening experience. The buildup of dust on the stylus and records causes skipping, crackling, and loss of clarity.
Turntable Cleaning Routine
When cleaning my turntable, I take extra care, as the parts are often sensitive. Here’s what I do:
- Clean the platter: I start by dusting off the platter using a microfiber cloth. Some people prefer using an anti-static brush, which is a great option to avoid static build-up.
- Dust the tonearm and stylus: I use a special stylus brush to gently clean the needle. For the tonearm, I use a soft cloth. Be extra careful around the needle—it’s very fragile!
- Check the connections: Sometimes dust can gather around the cables and connectors. I clean these with a soft cloth and, if necessary, use a tiny bit of isopropyl alcohol.
Pro Tip: Always move the stylus brush in the direction the record spins to avoid damaging the needle.
Vinyl Record Care
For vinyl records, it’s important to keep them dust-free. I recommend a vinyl cleaning kit that includes a soft brush and a solution specifically designed for records. Here’s my cleaning process:
- Brush the surface: Use an anti-static brush to remove any loose dust.
- Apply cleaning solution: Gently wipe the record with a microfiber cloth soaked in the cleaning solution, ensuring you clean in a circular motion following the grooves.
- Store properly: Always return your records to their sleeves to prevent dust buildup when not in use.
5. Amplifiers and Audio Interfaces
Amplifiers and audio interfaces are central to many audio setups, but they also gather dust and dirt over time. Keeping the internal and external components clean ensures you’re getting the best possible sound quality.
Cleaning the Exterior
- Power off and unplug: Always start by turning off and unplugging your amplifier or interface. This ensures you don’t accidentally short-circuit anything while cleaning.
- Use a microfiber cloth: I wipe down the exterior surfaces with a microfiber cloth, making sure to get into any crevices around the knobs and buttons.
- Compressed air for ports: Dust often accumulates in the input/output ports. A quick blow of compressed air will clear these out.
Pro Tip: Never use cleaning sprays directly on your equipment. Spray them on a cloth instead to avoid getting moisture inside the device.
Maintaining the Internal Components
For amplifiers, dust can accumulate inside the chassis, causing overheating and reducing performance. While I don’t recommend opening your amplifier unless you’re comfortable with electronics, many models have air vents that you can clean using compressed air.
6. Tips for Keeping Your Audio Electronics Clean
While it’s important to know how to clean your audio devices, it’s
even better to prevent dirt and dust from accumulating in the first place. Here are some tips I follow to keep my gear clean for longer:
- Keep a dust cover: For speakers, turntables, and other large electronics, use a dust cover when not in use. It’s a simple but effective way to prevent buildup.
- Regular maintenance: Don’t wait until your sound starts to degrade. I recommend cleaning your devices at least once a month, especially if you use them daily.
- Control your environment: Humidity and dust levels in your room affect how quickly dirt accumulates on your electronics. Using an air purifier can reduce dust levels, and keeping the room dry can prevent moisture from causing corrosion.
7. Final Thoughts
Cleaning audio electronics is one of those tasks that can seem minor but makes a huge difference in sound quality and longevity. I’ve seen firsthand how a clean pair of headphones or a dust-free speaker can breathe new life into your listening experience. Take the time to regularly maintain your equipment, and you’ll be rewarded with better sound and longer-lasting devices.
If you’ve been putting off cleaning your audio gear, now’s the time to start. Get out the microfiber cloth, grab some compressed air, and follow the tips I’ve outlined here. Your ears and your electronics will thank you.
Conclusion
Taking the time to clean your audio electronics is one of the best investments you can make to preserve sound quality and extend the life of your devices. Whether it’s your trusty pair of headphones, a home speaker system, or a vintage turntable, regular cleaning can prevent common issues like muffled sound, static, or even permanent damage. It doesn’t take much just a few tools, some care, and a bit of time but the results are well worth the effort.
From my own experience, I can confidently say that a clean piece of audio gear always performs better, and it just feels good knowing your investment is in top condition. Plus, the process is pretty straightforward, as long as you follow the right steps and avoid shortcuts like using water or harsh chemicals.
So, don’t let dust and dirt sabotage your listening experience. Keep your audio electronics spotless, and you’ll enjoy rich, crisp sound every time. If you’re like me and love getting the best performance out of your gear, then maintaining it regularly is a no-brainer. Get started today, and you’ll immediately notice the difference.
[…] you know that How to Solder Electronics: A Comprehensive Guide for Beginners the global market for electronics is projected to reach a […]
[…] Black Thing on a Microphone: What You Need to Know. Are microphone cover can affect sound clarity by up to 50%. That’s right the small, unassuming black foam or mesh […]
[…] a Microphone Converts Acoustic Energy into Electrical Signals. Are you know that over 4.9 billion people, or 63% of the world’s […]